

Starting in Studio Portrait Photography on the Cheap
By Maggie Hood
Getting started in studio portrait photography doesn’t have to be expensive. If you don’t have access to a rental studio space, you can start to build your own set-up without investing too much money. I started shooting in my living room and my love of studio photography grew from there. Maybe you just want to try out shooting in a studio-type setting or learn off-camera flash. Maybe you want to start doing headshots or creative portraits. Here are a few cost-efficient ideas that can help get you shooting in a studio setting without breaking the bank.
A Background
You’ll need some sort of background for your subject. The most cost-effective option is to just use a blank wall if you have access to one. In my studio, I painted one wall white and one wall grey so I wouldn’t have to always use backgrounds. If you have a solid blank wall in your house, maybe give that a try. Matte or flat paint works best.
Seamless background paper is my go-to and you can usually get a small roll for around $50. If you only get one, grey is quite versatile. You’ll also need a background stand if you go this route.
A Light Source
The cheapest light source option is natural light! If you have a window that yields nice natural light that is close to your blank wall, that’s amazing! You’re winning at life! If you went the seamless background route, you can position the background close to a window and move it around. This will allow you to gain experience with light direction by changing shooting angles and the subject’s position relative to the light.
If you don’t have access to nice natural light or want to experiment with artificial light, one of the cheapest ways to get started is with speed lights. You can get manual speed lights for fairly cheap (~$60) if you don’t already have any. Depending on your speed light and camera, you’ll also likely need some off-camera flash triggers, which you can get cheap versions on Amazon or eBay for ~$50. I would start with a couple of light sources if money allows for it, but you can do a lot with only one light.
Speedlight Modifiers and Accessories
You’ll likely want some want to control/soften/modify light. You can use bare flash, but it will be a harder, harsher type of light. I recommend starting with umbrellas, either shoot-through (white translucent) or reflective (black with reflective interior). You can buy convertible umbrellas where you can remove the black cover if you aren’t sure what you want. Both have slightly different results (shoot-through is quite soft but more difficult to control where the light is going, whereas reflective will generally be a tiny bit harder but gives you more control in terms of the direction of light). A medium-size will run you about $35-40 on Amazon.
You’ll need a light stand and a flash/umbrella bracket. I recommend getting something fairly sturdy, so not the cheapest option. You can also use a bracket that will attach to a tripod if you already have one.
Reflectors & V-Flats
A reflector is always a useful tool. It will allow you to bounce light into the shadows of your subject without having to add another light source. You can buy reflectors of different surface types (white, silver, gold) and they are fun to experiment with to see how the reflected light differs. Depending on the size, you could get one for $25+ on Amazon.
A cheap version of a reflector would be a piece of white foam board or bristol board from a craft store. This will efficiently reflect light into shadows and is relatively cheap.
I purchased two large foam insulation boards from Home Depot for my current studio space and painted one side of each black and one side white. I use them like v-flats, the white side to reflect light and the black to absorb light. You can also use them as backgrounds. The downside is that they are large and you would have to have somewhere to store them when not using them.
Extras for Fun
DIY Snoot: A snoot is a tool that you can use to more efficiently direct light to a certain area of an image. It is super easy to make for a speedlight by wrapping a piece of thick paper or cardboard around the speed light to create a tube. Check out this tutorial.
Colored gels are a fun tool to use for creative portraits and are also very useful in showing you which light is hitting where when you are using multiple lights. You can get a cheap set of gels on Amazon for less than $25. I use mine all the time.
These are just a few ideas to get you started in a studio setting. From there, you can always grow your studio gear as needed, adding different backgrounds, more powerful lights, and different modifiers. The bonus is that most of this equipment is pretty portable, so you can also use it for environmental portrait photography. Learning light, whether natural or artificial, is key to creating beautiful portraits, so don’t hesitate to experiment and play!

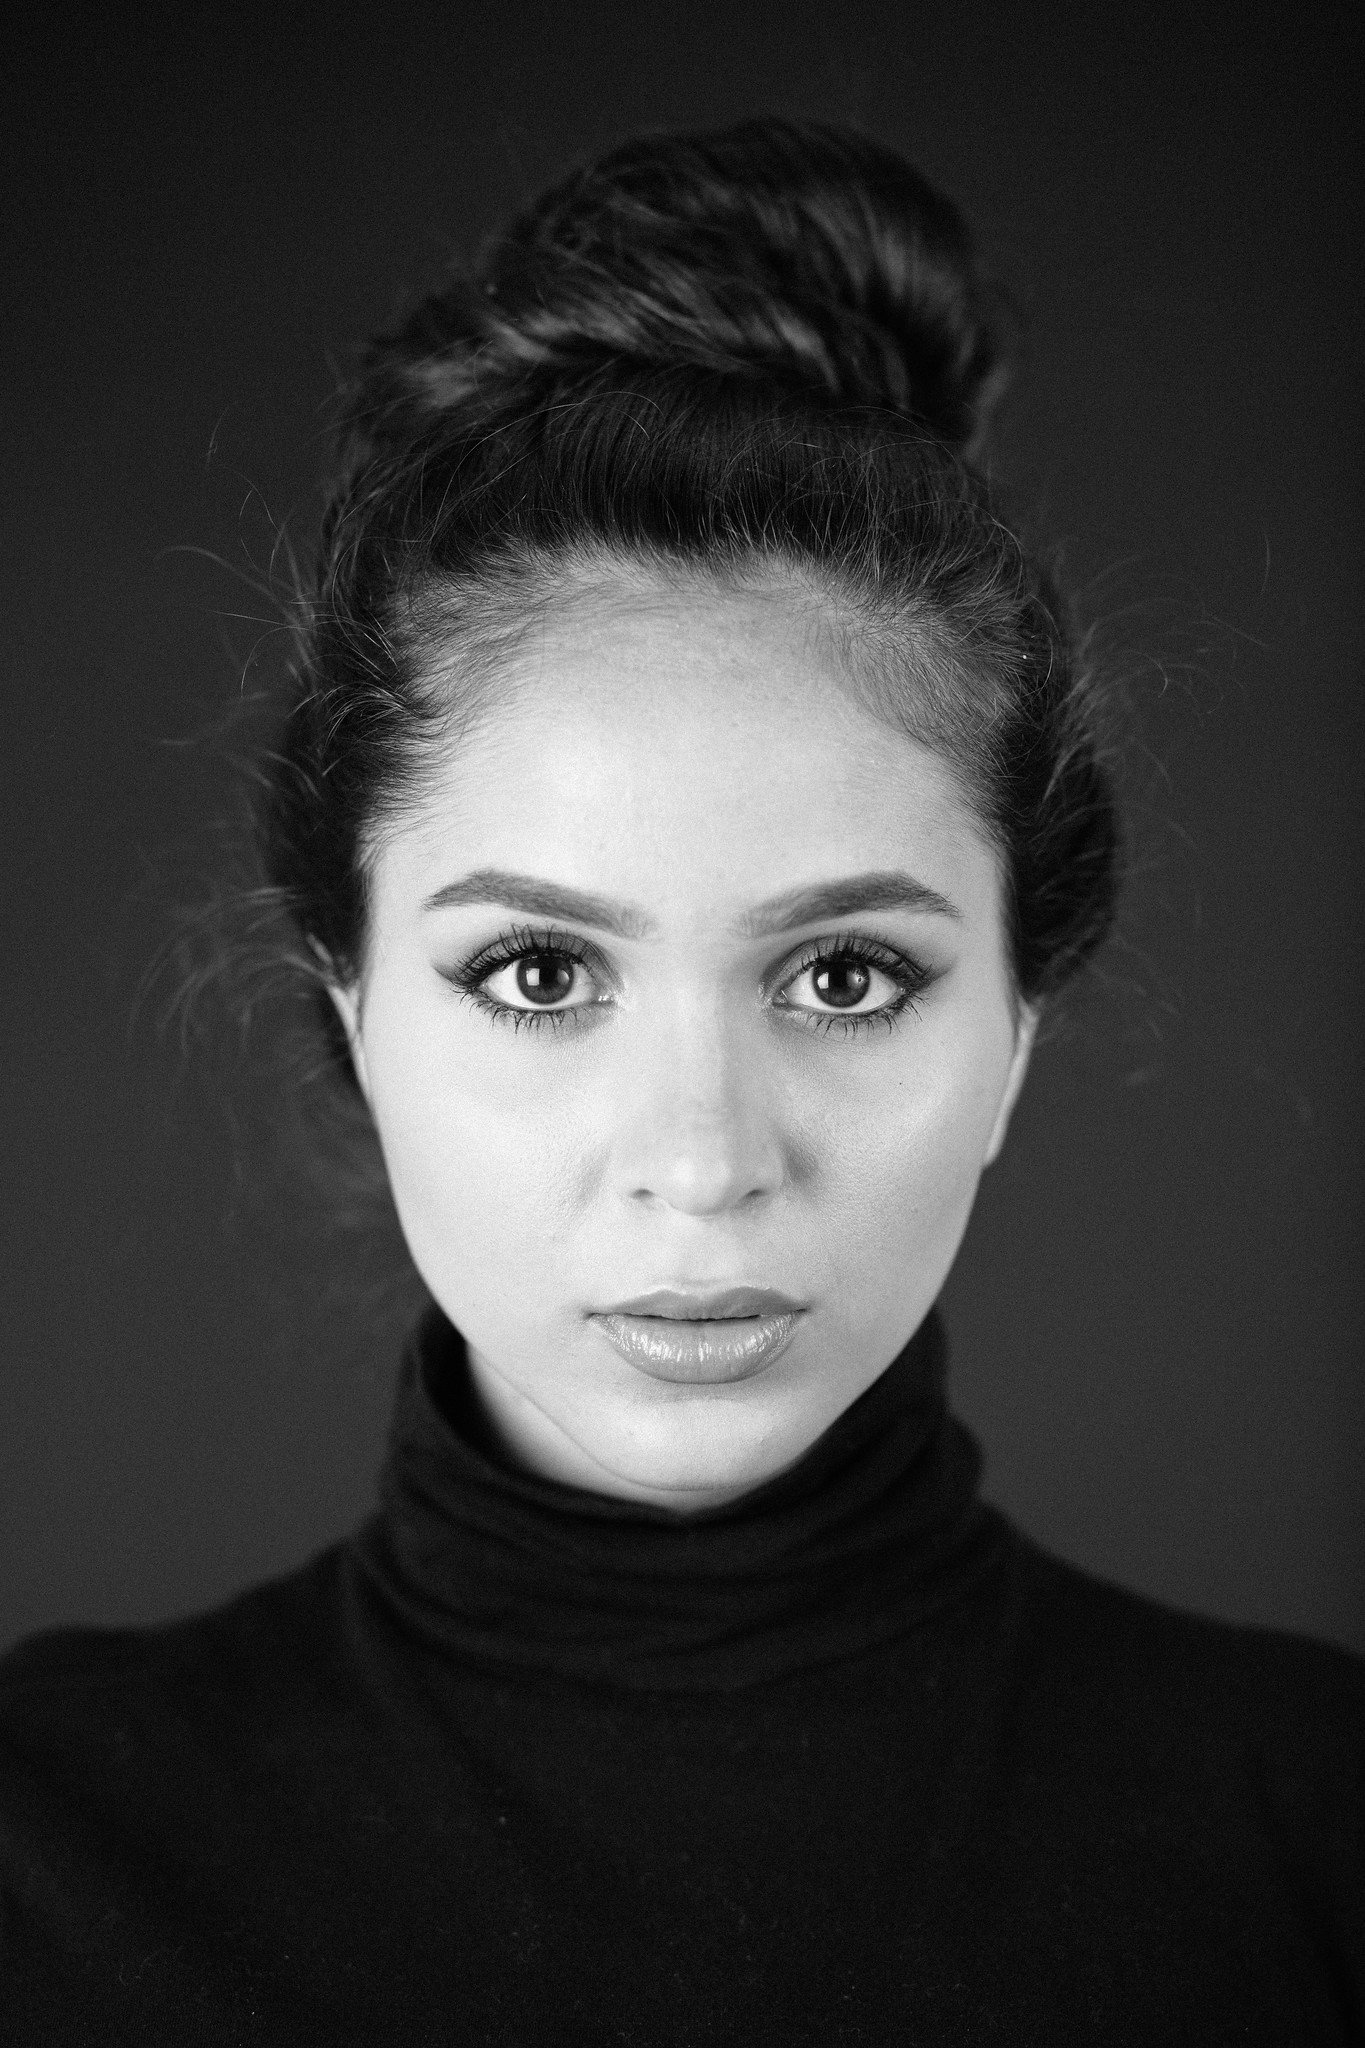
One light studio setup with fill, on a seamless paper background. Photo by Maggie Hood.

One light camera left with black foam board to the right. Background is a white wall. Shot on Ilford HP5 film with Hasselblad 500cm. Photo by Maggie Hood.
Two light setup on seamless paper. Photo by Maggie Hood.
Maggie Hood is a portrait and wedding photographer and a Contributor to OFFBEAT.
This article was originally written for our private OFFBEAT Community. Join us!